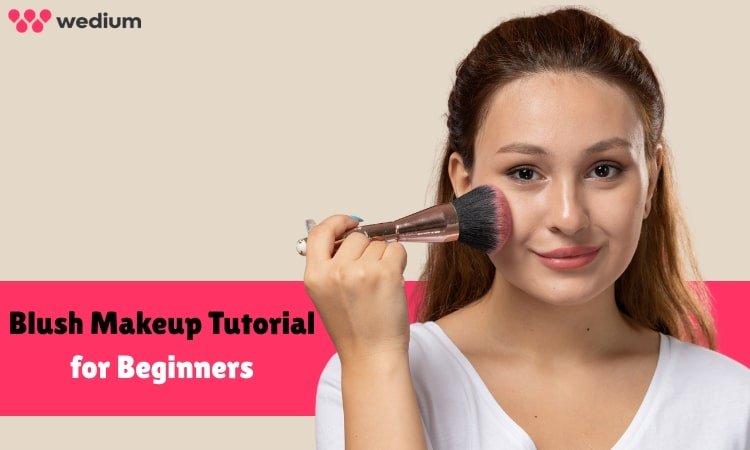
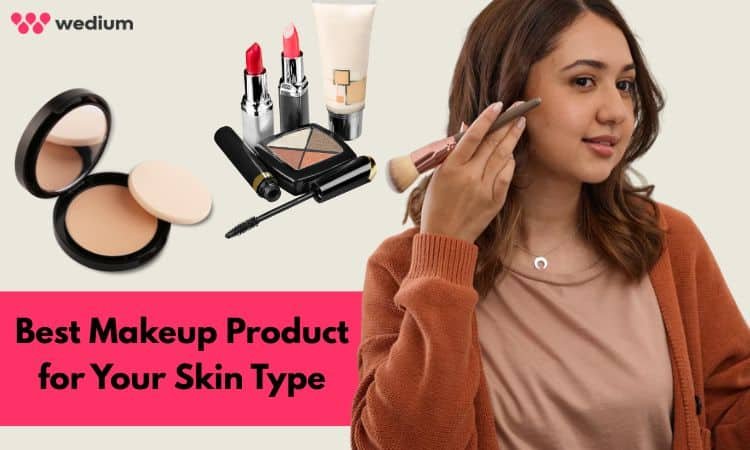
Blush makeup is one of the easiest ways to add a healthy, natural glow to your face. It actually brings warmth to your cheeks, brightens your skin, and makes you overall look more fresh and lively. However, if you’re new to it, you might be unsure about how to choose the right shade, where exactly to apply, or even which type of blush to use.
This step-by-step guide is actually curated especially for beginners. You’ll learn everything from the types of blush (like powder, cream, or even liquid) to how to apply it based on your face shape and skin tone. We’ll also share some simple tips, common mistakes to avoid, along with affordable blush options that work well for Indian skin.
Just like your Skincare Routine, adding blush to your makeup can elevate your look. Whether you’re getting ready for a casual day out or even a festive event, blush can make a big difference. Let’s make it easy so that you can glow with confidence, every single time.
Understanding Blush: Types & Textures
Choosing the right type of blush can really make a big difference in how your makeup looks and feels. Different blush textures work better for different skin types and finishes. So, let’s break down the most common types of blush so that you can pick the one that suits you best.
Powder Blush
- It best suits oily or sometimes combination skin.
- Provides a matte to satin finish.
- It’s easy to control and build up gradually.
- Work well over foundation along with setting powder.
Cream Blush
- Perfect for normal skin or even dry skin.
- Gets combined easily for a dewy, glowing finish.
- It can be applied with the help of a sponge or even fingers.
- Great for a natural, fresh-faced look.
Liquid Blush
- Lightweight and perfect for a natural flush.
- Work very smoothly on all skin types.
- A little goes a long way, combine quickly for the best results.
- Looks seamless on bare skin, or even over light base makeup.
Tinted Balm or Gel Blush
- Excellent for quick and on-the-go application.
- Offers a subtle wash of colors.
- Feels hydrating and is perfect for minimal makeup days.
- Often multitask as lip tip tint too.
Knowing the differences between cream blush vs powder blush helps you match the product to your skin type and the look you want, no matter if it’s a soft matte finish, or even a fresh dewy glow. Each texture has its own charm, and experimenting will help you identify what works best for your routine.
Choose the Right Shade for Your Skin Tone
Finding the right blush shade helps you get that perfect, natural flush. Here’s a closer look based on your skin tone and undertone:
Fair Skin
If you have fair skin, then go for light pinks or soft peaches. These shades will add a gentle flush without even looking too bold.
Medium Skin
Try coral, rose, or even mauve tones. They actually brighten your face and add warmth.
Dusky Skin
Choose warm terracotta, deep coral, or try burnt orange. These shades enhance your natural glow.
Deep Skin
Opt for plum, berry, or brick red tones. They add depth and richness.
Match It with Your Undertone
- Warm undertones: Peach, orange, apricot shades
- Cool undertones: Pink, mauve, berry tones
Choosing the right blush shades based on your skin tone and undertone ensures a natural flush that perfectly flatters your face, especially when choosing the best blush for Indian skin.
Tools You’ll Need for Blush Application
- Blush Brush: Perfect for powder blush, it gives a soft and even finish.
- Beauty Blender: Great for blending cream or liquid blush smoothly.
- Fingers: Ideal for quick application of cream or tint; warm fingers help blend naturally.
- Angled Brush: Helps with precise application and defining cheekbones.
- Dual-ended Brush: Useful for blending and softening harsh edges.
- Cleaning Tip: Wash your brushes and blenders weekly to avoid bacteria buildup.
- Storage Tip: Keep tools in a clean, dry pouch as part of your beginner makeup kit.
When you use the right makeup tools, especially a good blush brush or beauty blender, it makes blush application easier, faster, and more flawless.
Where and How to Apply Blush Based on Face Shape
Knowing the right blush placement can smoothly enhance your natural features and give your face better balance. Here’s how to apply blush based on your face shape:
- Round Face: Apply blush diagonally upwards from the apples of your cheeks toward the temples in order to create a sculpted effect.
- Oval Face: Apply blush directly on the apples of the cheeks, then blend slightly outward for a natural flush.
- Square Face: Focus blush on the cheekbones and blend toward the temples to soften strong jawlines.
- Heart-Shaped Face: Apply blush just below the cheekbones and blend outward to balance a wider forehead and pointed chin.
The right blush for face shape not only adds color but also it helps in sculpting cheeks, almost like a soft version of contour and blush combined.
Step-by-Step Blush Application Guide
New to blush makeup? No worries. With the right steps, you can easily get a natural, glowing look. Follow these beginner-friendly steps to apply blush like a pro:
Step 1: Prep Your Skin
Before even applying blush, always start with clean, moisturized skin. Apply a lightweight moisturizer, then follow with a primer and your foundation, or even base makeup. This gives your blush something to stick to and helps it blend smoothly for a neutral blush look that lasts all day without any patchiness or fading.
Step 2: Pick the Right Formula and Shade
Choose a blush type, powder, cream, or even liquid, based on your skin type. Powder works best for oily skin, and cream or liquid suits dry or normal skin. Choose a shade that truly matches your skin tone for a neutral tone for a natural flush.
Step 3: Apply a Small Amount
Less is actually more with blush. Lightly tap your blush or fingers into the product and apply a small amount first. You can always build it up. Start at the right spot based on your face shape, like the apples of your cheeks or cheek bones, and use gentle, upward motions in order to apply.
Step 4: Blend Gently
Blending is really key to a seamless look. Use a clean blush brush, sponge, or even fingertips (for cream and liquid blushes) in order to blend the product into your skin. Circular or dabbing motions work best. This avoids harsh lines and helps your blush melt into your base for a soft finish.
Step 5: Build if Needed
Want a bolder look? Add another light layer and blend again. Blush should enhance your features, not overpower them. Always build slowly, checking in natural light if possible. This way, your natural blush look stays balanced and enhances your makeup without even looking too heavy or unnatural.
Step 6: Set with Powder (Optional)
If you’ve used powder blush or want longer wear, lightly dust translucent setting powder over your cheeks. This will help you lock in the color and reduce shine. For cream or liquid blush, skip this step, or use a dewy setting spray in order to keep your skin glowing and fresh all day.
Common Blush Mistakes to Avoid (with Fixes)
- Too much product: Start light, build gradually.
- Wrong placement: Apply based on your face shape.
- Poor blending: Blend in circular motions to avoid harsh lines.
- Wrong shade: Match blush to your skin undertone for a natural look.
Pro Tips for Long-Lasting, Natural-Looking Blush
- Always layer cream and powder blush for a long-lasting makeup effect without even looking cakey.
- Finish with a setting spray in order to lock in color and maintain a natural finish throughout the day.
- Match your blush with a lip tint, or even a subtle highlighter in order to create a cohesive look that perfectly enhances your features.
- Blend well and avoid heavy layering, so that your blush stays fresh and radiant for hours.
Conclusion
Blush is more than just a pop color. Beyond, it’s the secret to a radiant, youthful look whenever used correctly. From choosing the right shade for your skin tone to applying based on your face shape, mastering blush placement can truly elevate your entire makeup game. No matter if you’re new to makeup or even looking to refine your skills, these tips will help you grow effortlessly. For flawless results, trust a professional makeup artist in Puri in order to bring out your best look with expert precision and a natural touch.


