Makeup is an art of beauty, a way to enhance what’s in nature! It increases your confidence to stay beautiful, and create uniqueness with a brush. Though many makeup products are available today but for your simple everyday look or a glamorous evening makeover, learning how to apply step by step makeup can help you master the basics and beyond!
Even if you’re a beginner, in this guide we will walk you through the essential steps to ensure a flawless, fabulous look that’s appropriate for any occasion. Discover pro tips, tricks, and techniques to help elevate your makeup game!
Step-by-Step Makeup Application
First, check that you have a clean moisturizer and a good foundation to achieve flawless makeup. Use primer to make your makeup last through the day, then layer a foundation on your skin tone. Concealers will hide blemishes and dark circles.
Fill your eyebrows, frame your face and add eyeshadow to make your eyes more dimensioned. For a separate definition, fill in with eyeliner and finish with mascara for big, full-looking lashes. Add a pop of color with lipstick or gloss, blush, and highlighter, and highlight with some nude stains.
By practicing you’ll begin to learn step by step makeup, but even more so you’ll learn to be flawless to fabulous with ease.
Skin Preparation
Step 1:
- Beginning with the process, remove traces of old makeup on your skin. Unused makeup can block pores and interfere with the application of new products.
- If you have opted not to use an oil cleanser, then go for a gentle makeup remover to cleanse around the eyes and lips.
- This step makes sure that your skincare products and makeup will absorb and stick like it should.
Step 2:
- Before makeup please pay attention to cleansing and moisturizing. Use a gentle cleanser to get rid of the dirt and excess oil to create a fresh surface and your face gets cleaned and fresh.
- After you follow up with a moisturizer that’s the right consistency for your skin type, maintain soft, smooth skin using hydrating moisturizers. This helps your makeup blend and stay in place without looking dry or flaky.
Step 3:
- After moisturizing, apply a small amount of primer. A primer for a smooth and long-lasting makeup finish is always mandatory. It fills in pores, and fine lines, and makes skin the even texture so that foundation would be the perfect base.
- From mattifying for oily skin to hydrating for dry skin to color correcting, for example, for redness or dullness, primers come in droves. It makes sure your makeup stays in place the whole day and will look beautiful and flawless at the same time.
Step 4:
- Find a shade that matches your skin, and then apply it all over your face like a brush, a sponge, or fingertips.
- Blend outwards from the center of your face to achieve a natural look with ease. Don’t get too harsh with your hairline, jawline, or neck.
- Creating an even skin tone is key to having a flawless base for the rest of your makeup which is achieved by the foundation. It should not look cakey or heavy and should improve your complexion. Foundation adds smoothness, and even texture and prepares your skin to receive the next steps.
Also Read: Your Ultimate Makeup Routine for Special Occasions
Step 5:
- A concealer is your hidden weapon against a perfect complexion. After foundation, use a concealer as blemishes, dark circles, and discoloration are hidden.
- For brightening under the eyes try a concealer that is a shade lighter than your skin, and then for spots cover using a concealer of the same skin color. Blending small amounts where needed can give you a natural look. It’s more helpful than you can imagine!
Step 6:
- Then go for Set powder to lock your makeup and to stop it from drying. Once you’ve applied a foundation and concealer, you can lightly dust a translucent or tinted powder over your face, focusing on the T-zone where you tend to get oil.
- It absorbs excess oil and smoothes your face’s texture, making you look matte. Additionally, it also keeps your makeup in place all day, so it doesn’t smudge or fade. A fluffy brush makes for even application and your makeup should stay fresh and flawless for longer periods as it won’t crease or melt away.
Step 7:

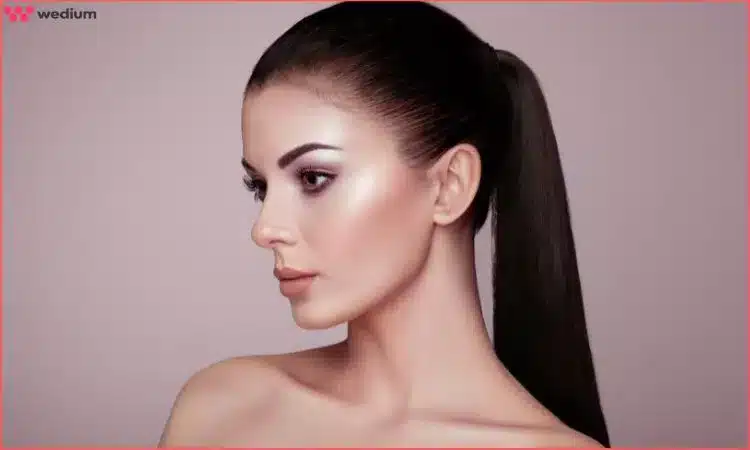
- Then take a highlighter, and apply it to places like your cheekbones, brow bones, the bridge of your nose, and your cupid’s bow. They give a radiant glow to your skin by making your high points.
- But these are the spots where light naturally comes to your skin giving it a luminous healthy glow. Use a brush or your fingers, working as the brush or finger sinks into the product, blending well to eliminate harsh lines.
Don’t be afraid to use a highlighter, as this gives your makeup dimension and enhances your features, as well as giving you a subtle sheen to finish fresh and dewy.
Step 8:
- To create shadows use a contour product one to two shades darker than your skin tone. Using it under your cheekbones, along the sides of your nose, and around your jawline, blend well to get a natural-looking effect.
- Contouring helps to bring out the details of your face such as your cheekbones, your jawline, and your nose. It gives your face a shape, they shape your face and make it more defined.
Step 9:
- Use blush on the apples of the cheek – blend upwards towards your temples. Then apply it using heavy handedly for contour, and lightly for a foundation application. With blush, you get a natural flush of color in your cheeks to give your complexion a natural and vibrant healthy glow.
- Go for a shade that marries your complexion if you’re fair: soft pinks, peaches for medium complexions, and deeper browns for darker skin. Happy blush adds warmth to your face, so your skin feels fresh and bright. It’s just a simple step, adding a soft touch of color and making you look balanced and youthful.
Step 10:
- Eyebrows are essential, otherwise, your face is just blanketed and your makeup is left incomplete. Brush those eyebrows in place first, then apply a pencil, powder, or pomade to fill in any sparse areas. Use feathery light strokes to follow the natural shape of the brow with the look of natural hair. Keep away from overfilling if you want a more natural look.
- Then, to keep your brows neat and defined all day, finally set in your brows with a brow gel. Groomed eyes add class and balance to your entire face, and your makeup looks super, polished, and professional.
Eye Makeup Essentials

Step 1:
- First up, pick up an eyelid primer or concealer to give you a smooth base to work with. It acts as a barrier step, preventing eyeshadow from creasing and keeping your eyeshadow bright and long-lasting.
- Add Primer to tame the oil and stay makeup-free. This also enhances the pigmentation of the eyeshadow and gives you base pigmentation, which is a flawless, seamless eye look.
Step 2:
- You can apply your neutral base eyeshadow all over your lids. On the crease where you really want some definition, use a medium shade and in the outer corners put a darker tone, then blend them out so you get depth.
- Use a shade slightly lighter or the same color as the brow bone for highlighting. You can add a layer of shimmer over it too. Use shadow, to color, and give dimensions to the eyes as the center of your face.
Step 3:
- Eyeliner is the definition and augmentation of beautiful eyes! Its creamy texture, apply it along the upper lash line for a sharp, bold, or smudge it for a softer effect.
- You can also line your lower lash or water line for extra depth. Both, subtle and dramatic style of eyeliner helps make your eyes seem more defined and more attractive.
Step 4:
- Mascara completes an eye look by adding length, volume, and definition to your lashes. Combine for even coverage, apply it right from the base of your lashes, and wiggle the wand upward.
- Do a little more of a coat to get a fuller effect on both your upper and lower lashes. Mascara makes your eyes look bigger and more awake, finishing off with a flirty look.
Lip Color Application

Step 1:
- First, you begin by exfoliating your lips, removing any dryness or flakes, and putting on some hydrating lip balm. It creates a smooth surface to apply your lipstick or gloss and will help it last longer.
- By prepping your lips it stops cracks from forming and makes your lip color look more polished and flawless.
Step 2:
- Draw your lips carefully from the center and out towards your corners. A lip liner helps define your lips and prevents lipstick from bleeding.
- To get a fuller look, slightly overline or follow your natural lip shape. This also helps your lip color to stay and put more definition and neatness.
Step 3:
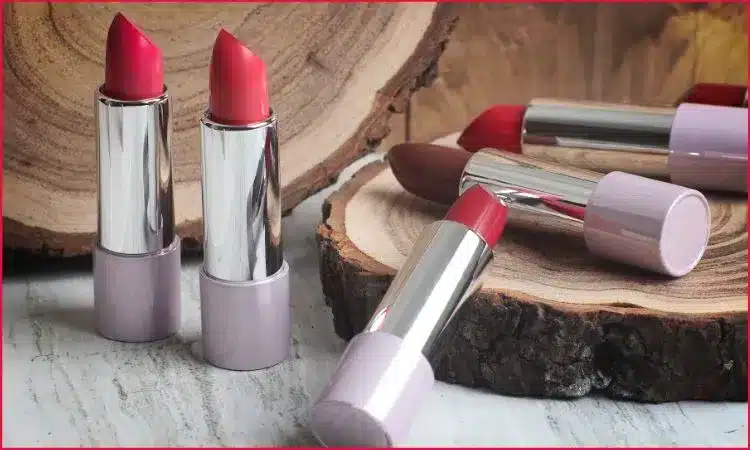
- Choose your favorite lipstick or gloss, and apply it to your lips evenly. If you want better control, stick with a lip brush for lipstick or apply the gloss on its own for a shiny finish.
- Use this layer over that for more intensity or blot it with a tissue for a more natural look. When you apply lipstick or gloss to your lips it finishes your makeup with a hit of color which is always lovely.
Step 4:
- When you put on your lip color, clean the edges with a brush or concealer for perfect, sharp edges.
- To get those bold lips, just blot your lips with tissue, and you can reapply for a second layer if you want. A bit of gloss adds to the center of your lips giving your lips a fuller effect.
Conclusion
Make a place in your makeup routine for prepping your skin up to perfecting your lip color. With these simple, yet effective steps you can go from looking awful to looking wonderful for any kind of occasion.
Makeup enhances your actual beauty that you naturally have, so use makeup as a means to explore and experiment with new methods! Using these step by step makeup tips you’ll beautifully flawlessly look for any occasion. Get ready to upgrade your style for this event!
Book your Party Makeup Artist in Puri and wave goodbye to tired looks and amateur makeup! Turn up with a beautiful, professional makeup job that’s going to have people lining up to get their hands on it! Contact us today.


